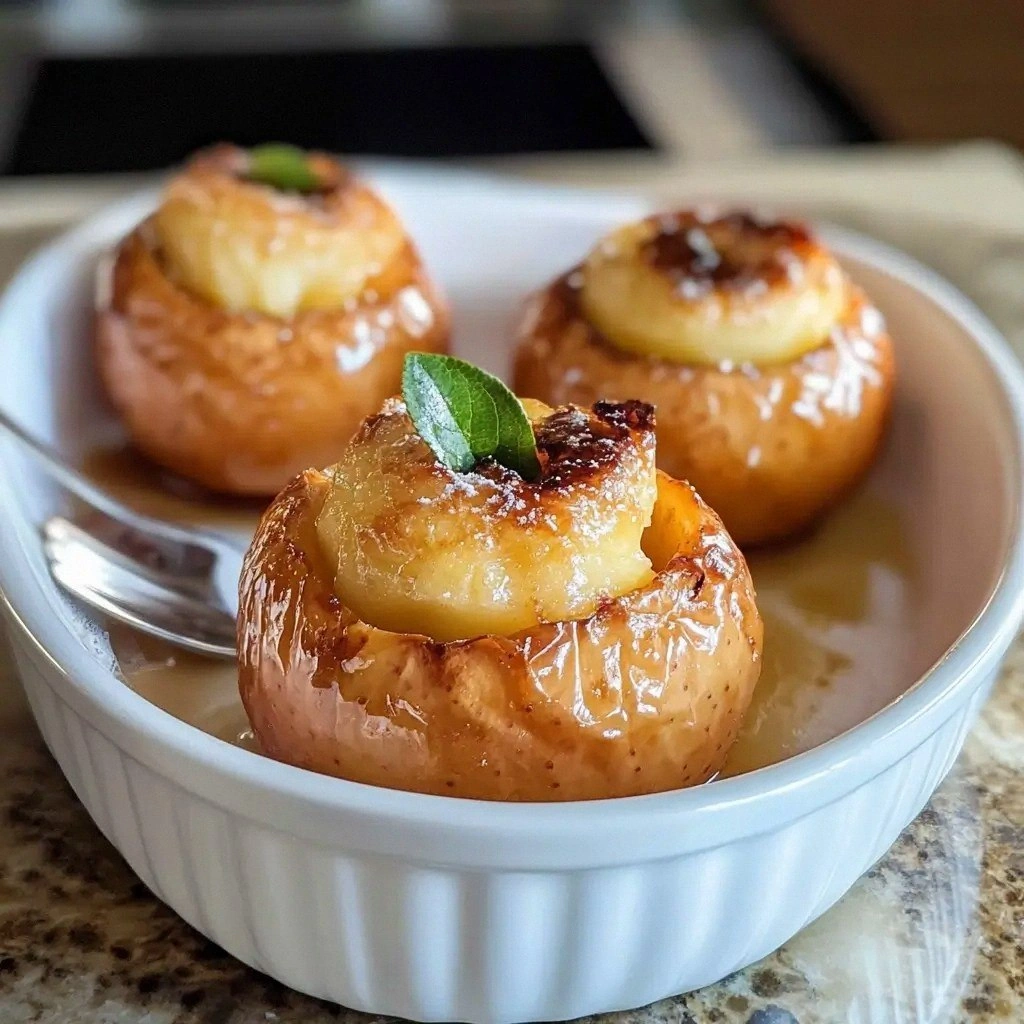
You know that moment when the kitchen feels like a stage, and the oven is your spotlight? I was in that exact spot, staring at a basket of apples that had seen better days—cracked skins, bruised cores, the works. I thought, “If I could turn these into something that smells like a bakery and tastes like a hug, I’d win a culinary award.” The answer? Air‑fryer baked apples with a buttery, cinnamon‑kissed topping that makes every bite a little victory.
Picture this: the first apple hits the air‑fryer basket, and the heat melts the butter into a golden glaze. The aroma of caramelized sugar and warm spices rises, filling the kitchen with a scent that feels like a hug from grandma. The sound? A gentle sizzle that’s almost musical. As the apples cook, their flesh softens to a melt‑in‑your‑mouth tenderness, while the topping crisps into a crackly, caramelized crown. It’s a symphony of textures and flavors that dance together, and I dare you to taste this and not go back for seconds.
What makes this version stand out is that it’s not just baked apples; it’s a carefully orchestrated experience. I’ve taken the classic comfort food and given it a modern twist: an air‑fryer that locks in moisture, a butter‑sugar glaze that caramelizes without burning, and a crunchy oat‑nut topping that adds a satisfying bite. Most recipes get this completely wrong, either over‑baking the apples or under‑caramelizing the glaze. Here’s what actually works: a balanced ratio of sweetness, spice, and texture that makes every bite a revelation. Picture yourself pulling this out of the air‑fryer, the whole kitchen smelling incredible, and knowing you’ve just created something that will impress even the most skeptical palate.
And let’s be honest—if you’ve ever struggled with baked apples, you’re not alone. Maybe you’ve tried baking them in the oven and ended up with a soggy mess, or you’ve forgotten the secret to that buttery glaze that turns a simple apple into a showstopper. I’ve been there, and I’ve perfected a method that guarantees crisp edges that shatter like thin ice and a sweet, buttery center that melts in your mouth. By the end of this guide, you’ll wonder how you ever made it any other way.
What Makes This Version Stand Out
- Taste: The caramelized butter glaze infuses every apple with a rich, buttery sweetness that balances the tartness of the fruit. The subtle hint of vanilla and nutmeg elevates the flavor profile to something truly memorable.
- Texture: The air‑fryer creates a crisp, golden topping that cracks delightfully, while the apples inside stay tender and juicy. The result is a delightful contrast that feels like a dessert and a snack rolled into one.
- Simplicity: With less than ten ingredients and a single appliance, you can achieve a gourmet result in under an hour. No pre‑baking or complex techniques—just chop, toss, and air‑fry.
- Uniqueness: The addition of oats and nuts to the topping adds a wholesome crunch that sets this recipe apart from the standard baked apple.
- Crowd Reaction: Friends and family rave about the “buttery, caramelized crunch” and the “perfectly soft, sweet center.” It’s a conversation starter at gatherings.
- Ingredient Quality: Using fresh, firm apples and high‑quality butter makes a noticeable difference in flavor and texture.
- Cooking Method: The air‑fryer locks in moisture while creating a caramelized surface—no need for a stovetop or oven.
- Make‑Ahead Potential: Prepare the apples in advance and simply pop them in the air‑fryer when you’re ready to serve.
Alright, let’s break down exactly what goes into this masterpiece. Each ingredient has been chosen to create layers of flavor and texture that work in harmony. From the crisp apple base to the buttery glaze, every element plays a vital role. Let’s dive into the ingredient list and discover why each component matters.
Inside the Ingredient List
The Fruit Core
The apples are the star of the show. Choose firm varieties like Granny Smith or Honeycrisp for their natural tartness that balances the sweetness of the glaze. If you prefer a sweeter apple, try Fuji or Gala, but be prepared for a more mellow flavor profile. Cutting the apples into uniform wedges ensures even cooking and a consistent bite.
The Sweet & Spicy Glaze
Brown sugar, cinnamon, and nutmeg form the backbone of the glaze. The sugar caramelizes into a glossy sheen, while the spices add depth and warmth. Vanilla extract brings a subtle richness, and lemon juice brightens the mixture, preventing it from becoming overly sweet. Together, they create a glaze that coats the apples like velvet.
The Butter & Oil Blend
Butter is the secret to that buttery crunch. It melts into the apple flesh, creating a luscious, buttery interior. A small amount of olive oil or melted coconut oil can help the glaze spread evenly and prevent sticking. The combination of butter and oil also gives the topping a slightly crisp finish.
The Crunchy Topping
Rolled oats, chopped walnuts, and raisins add texture and a nutty flavor that contrasts beautifully with the sweet apples. Baking powder lightens the oat mixture, giving it a airy crunch. A pinch of sea salt balances the sweetness and enhances the overall flavor. This topping turns the dish from simple to spectacular.
Everything's prepped? Good. Let’s get into the real action. The air‑fryer will do the heavy lifting, but the timing and technique are key to achieving that perfect balance of softness and crunch.
The Method — Step by Step
- Preheat your air‑fryer to 190°C (375°F) for 3 minutes. While it heats, wash the apples and cut them into uniform wedges, removing cores and seeds. The uniform size ensures even cooking and a consistent caramelized surface.
- In a small saucepan, melt 2 tbsp of butter over medium heat. Add 1/2 cup of brown sugar, 1 tsp cinnamon, 1/2 tsp nutmeg, and 1 tsp vanilla extract. Stir until the sugar dissolves and the mixture becomes glossy, about 2 minutes. This is the buttery glaze that will coat the apples.
- Add 1 tbsp of lemon juice to the glaze to brighten the flavor and prevent the sugar from crystallizing. Let the mixture simmer for another minute, then remove from heat. This step is crucial for a smooth, caramelized coating.
- Toss the apple wedges in the glaze until they’re evenly coated. The glaze should cling to the fruit like a glossy mantle, but not pool on the bottom of the basket. This ensures each apple gets a sweet, buttery bite.
- In a separate bowl, combine 1/4 cup rolled oats, 1/4 cup chopped walnuts, 1/4 cup raisins, 1 tsp baking powder, and a pinch of sea salt. Mix until the oats are evenly coated with the dry ingredients. This crunchy topping will crisp beautifully in the air‑fryer.
- Sprinkle the oat‑nut mixture over the glazed apples, pressing gently to secure it to the fruit. The topping should sit on top of the apples, creating a golden crust as it cooks.
- Place the apple wedges in the air‑fryer basket in a single layer, ensuring they don’t overlap. Cook at 190°C (375°F) for 15 minutes, then flip the apples and cook for an additional 10 minutes. The total cooking time should be about 25 minutes, or until the topping is golden brown and the apples are tender.
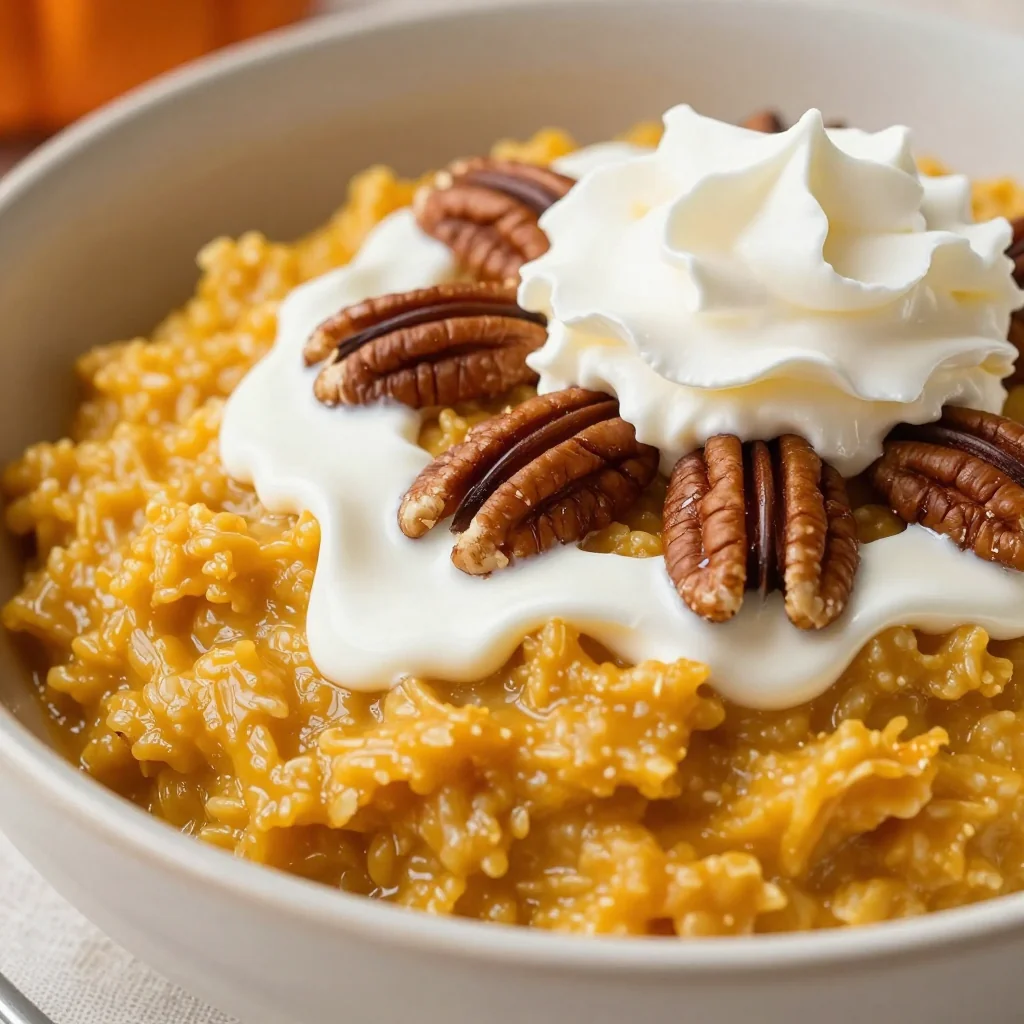
- Remove the apples from the air‑fryer and let them rest for 5 minutes. This resting period allows the glaze to set and the flavors to meld. Serve warm, optionally drizzled with maple syrup or a scoop of vanilla ice cream for an extra indulgent touch.
That’s it— you did it. But hold on, I’ve got a few more tricks that will elevate this dish from good to unforgettable. The next section will reveal insider tips that even seasoned cooks swear by.
Insider Tricks for Flawless Results
The Temperature Rule Nobody Follows
Many people set their air‑fryer at a high temperature, thinking it will cook faster. In reality, a moderate 190°C (375°F) gives the apples time to caramelize without burning the glaze. I once set it to 200°C and ended up with a burnt topping that tasted like char. Keep the temperature steady, and the results will be consistently perfect.
Why Your Nose Knows Best
When the apples are halfway through cooking, the aroma will shift from raw fruit to warm, buttery caramel. Trust that scent as your cue to flip the apples. If you wait too long, the glaze will harden and become chewy; if you flip too early, the apples will be undercooked.
The 5‑Minute Rest That Changes Everything
Letting the baked apples rest for 5 minutes after cooking allows the glaze to set and the flavors to meld. This short pause also prevents the topping from sliding off when you serve. I’ve seen people skip this step, only to have the crust slide off the plate. Trust me, the 5‑minute rest is worth every second.
Add a Splash of Water to Reheat
If you’re reheating leftovers, sprinkle a tiny splash of water over the apples before popping them back into the air‑fryer. This steams the surface, restoring moisture and preventing the glaze from drying out. It’s a simple trick that keeps the apples juicy and the topping crisp.
Use a Silicone Baking Mat
Line your air‑fryer basket with a silicone mat to prevent sticking and make cleanup a breeze. The mat also helps distribute heat evenly, ensuring the topping crisps uniformly. I’ve tried a variety of mats, and the one with a slightly raised ridged surface gives the best results.
These tricks are the difference between a good baked apple and a show‑stopping dessert. Give them a try, and you’ll see why this recipe consistently earns rave reviews.
Creative Twists and Variations
This recipe is a playground. Here are some of my favorite ways to switch things up:
Maple‑Glazed Apples
Swap the brown sugar for maple syrup and reduce the butter by half. The result is a sweeter, richer glaze with a subtle maple undertone that pairs wonderfully with the apple’s natural sweetness.
Spiced Apple Casserole
Add a pinch of cayenne pepper and a splash of bourbon to the glaze for a spicy, boozy twist. The heat from the pepper balances the sweetness, creating a complex flavor profile that’s perfect for fall gatherings.
Nut-Free Crunch
Omit the walnuts and replace them with toasted coconut flakes. The coconut adds a tropical note and a pleasant crunch that complements the caramelized topping.
Apple & Cranberry Surprise
Stir in a handful of dried cranberries to the oat topping. The tartness of the cranberries cuts through the sweetness and adds a pop of color.
Mini Apple Cups
Use mini muffin tins to bake individual apple cups. Fill each cup with a slice of apple, a spoonful of glaze, and a sprinkle of oats. These make perfect bite‑size desserts for parties.
Feel free to experiment. The beauty of this dish is its flexibility, allowing you to tailor it to your taste or whatever you have on hand.
Storing and Bringing It Back to Life
Fridge Storage
Store leftover baked apples in an airtight container in the refrigerator for up to 3 days. The glaze will firm up slightly, so reheat gently to restore its buttery sheen.
Freezer Friendly
For longer storage, wrap the apples individually in parchment paper and place them in a freezer bag. Freeze for up to 2 months. Thaw in the refrigerator overnight before reheating.
Best Reheating Method
Reheat the apples in the air‑fryer at 180°C (350°F) for 5 minutes, or in a microwave for 30 seconds, then finish in the air‑fryer for 2 minutes to crisp the topping. Add a splash of water before reheating to keep the glaze moist and prevent it from drying out.