There I was, standing in my kitchen at 11:47 PM on a Tuesday night, staring at a disaster of epic proportions. My supposed "easy" cheesecake recipe had turned into a cratered moonscape, the center collapsed like a sinkhole, and the edges were darker than my ex's heart. The smell of burnt sugar hung heavy in the air, mixing with my tears of frustration. Okay, maybe not actual tears, but definitely some choice words that would make a sailor blush. This wasn't just any cheesecake failure — this was my third attempt at making something impressive for my book club meeting tomorrow, and I was officially out of cream cheese, patience, and dignity.
But here's where the story takes a delicious turn. Instead of admitting defeat and showing up with store-bought cookies like some kind of culinary quitter, I decided to go smaller. Much smaller. What if, I thought, the problem wasn't me but the format itself? What if cheesecake wasn't meant to be this intimidating, precarious tower of potential failure? What if we stripped away all the pressure and made it... bite-sized? That night, fueled by stubbornness and the remaining dregs of a bottle of wine, I discovered something that would change my dessert game forever.
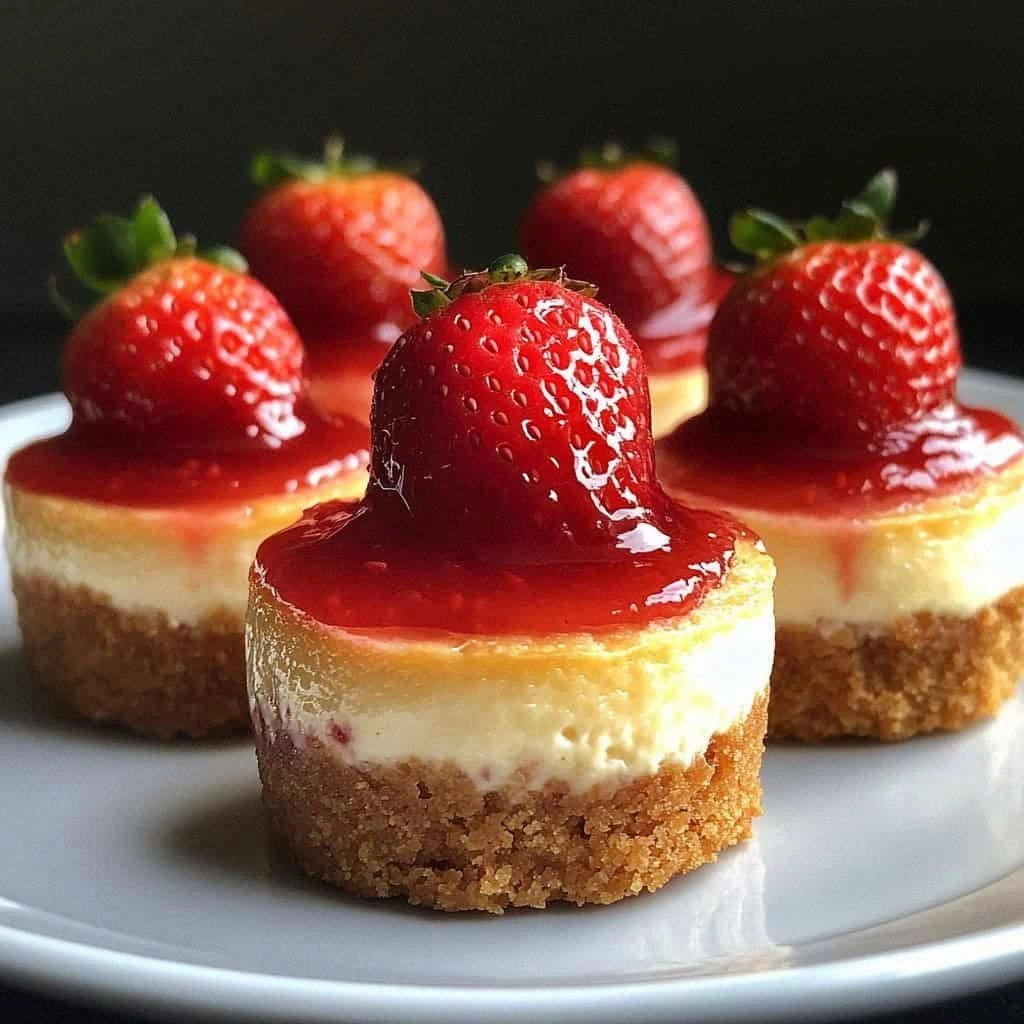
Picture this: perfectly portioned mini cheesecakes, each one a little masterpiece that fits in the palm of your hand. No worrying about cracks on top or whether the center is set — these beauties cook faster, cool quicker, and portion control is built right in (though I won't judge if you eat four). The graham cracker base stays crisp, the cheesecake filling is lusciously creamy without being heavy, and the strawberry topping adds this bright, jammy sweetness that makes you feel like you're eating summer itself. I ate half the batch that night, standing over the counter in my pajamas, and I regret nothing.
These strawberry mini cheesecakes aren't just a recipe — they're a revelation. They solve every single problem I've ever had with traditional cheesecake: no water bath required, no overnight chilling, no praying to the dessert gods for success. Plus, they look absolutely adorable, like something you'd pay six dollars for at a fancy bakery. But here's the kicker — they're actually easier than making a batch of chocolate chip cookies. Let me walk you through every single step — by the end, you'll wonder how you ever made it any other way.
What Makes This Version Stand Out
Lightning-Fast Results: Traditional cheesecake needs hours of baking and overnight chilling. These mini versions? They're done in under 30 minutes of baking time, and you can speed-chill them in the freezer for 20 minutes if you're really impatient (speaking from experience here). Fail-Proof Texture: The biggest cheesecake crime is a dense, heavy filling that sits in your stomach like a brick. These minis stay light and airy because they cook so quickly, giving you that perfect creamy texture without the heaviness. Built-In Portion Control: Unless you're my husband who eats six in one sitting, these naturally portioned treats help you enjoy dessert without the post-binge regret. Each one is perfectly satisfying without being overwhelming. Zero Special Equipment: No springform pan, no water bath, no fancy tools. If you've got a muffin tin and some paper liners, you're golden. I even made these successfully in a toaster oven once during a kitchen renovation. Make-Ahead Magic: These beauties freeze like champions. Make a double batch, freeze half, and you'll always have an impressive dessert ready for unexpected guests or midnight cravings. Customizable Canvas: While strawberry is my absolute favorite, these mini cheesecakes are a blank slate for any topping you can dream up. Raspberry, blueberry, caramel, chocolate ganache — the world is your oyster, and your muffin tin is the pearl.Inside the Ingredient List
The Foundation Builders
Let's talk graham cracker crumbs, the unsung hero of the crust world. These golden crumbs aren't just there to hold everything together — they bring this beautiful honey-wheat flavor that complements the tangy cream cheese like they were made for each other. I prefer making my own crumbs in the food processor because they stay fresher and you can control the texture. You want them fine enough to hold together but with enough body to provide that satisfying crunch. Store-bought crumbs work in a pinch, but they'll never have that fresh, toasty aroma that makes your kitchen smell like a dream.
The melted butter acts like edible glue, binding those crumbs into a crust that stays crisp even after baking. Use unsalted butter here because the cream cheese already brings plenty of salt to the party. Mix it until the crumbs feel like wet sand — you know, the kind that's perfect for building sandcastles at the beach. If your crust looks too dry and crumbly, add another tablespoon of melted butter. Too wet and it'll turn greasy during baking.
The Creamy Dream Team
Cream cheese is obviously the star here, but not all cream cheese is created equal. Skip the low-fat or whipped versions — they contain more air and water, which will give you a filling that's more likely to crack and less likely to impress. Full-fat, brick-style cream cheese is your ticket to rich, creamy success. Let it soften completely before mixing; cold cream cheese will give you lumps that no amount of mixing will fix. I've tried microwaving it to speed things up, but trust me, patience pays off here.
The granulated sugar isn't just for sweetness — it's working overtime to help create that smooth texture we all crave. As it dissolves into the cream cheese, it helps break down any remaining lumps and creates this glossy, luxurious filling that pipes like a dream. Don't even think about reducing the amount to make it "healthier." These are mini cheesecakes, not diet food, and sugar plays a crucial role in the chemistry of the filling.
The Texture Magicians
Eggs are the unsung heroes of cheesecake structure. They provide the gentle protein network that holds everything together without making it rubbery. Use large eggs at room temperature — cold eggs can cause the cream cheese to seize up, creating those dreaded lumps. Beat them lightly before adding to avoid overmixing the filling. And here's a secret: I always add one extra yolk to my batch. It makes the filling extra rich and gives it that beautiful pale yellow color that screams "homemade with love."
Sour cream is my secret weapon for the perfect texture. It adds tanginess to balance the sweetness, moisture to keep things creamy, and just enough acid to help the filling set properly. Full-fat sour cream works best — the low-fat stuff tends to break down and can make your filling watery. If you don't have sour cream, Greek yogurt makes a decent substitute, but the flavor won't be quite as complex.
The Flavor Enhancers
Vanilla extract might seem like a background player, but it's doing crucial work behind the scenes. Real vanilla extract (not the imitation stuff) adds these beautiful floral notes that make the strawberry topping pop. Don't skip it, and don't substitute vanilla flavoring — there's a world of difference. I use a good quality Madagascar vanilla, and I always add a touch more than the recipe calls for because vanilla and strawberries are best friends in the flavor world.
The strawberries are where this recipe really shines. Fresh, ripe strawberries will give you the best flavor, but frozen work in a pinch (just thaw and drain them first). Look for berries that are deep red all the way through — white centers mean they were picked too early and won't have that intense strawberry flavor. The lemon juice in the topping isn't just for brightness — it helps the natural pectin in the strawberries thicken the sauce, giving you that perfect spoon-coating consistency.

The Method — Step by Step
- Start with your crust because it needs a few minutes to set before adding the filling. Combine your graham cracker crumbs, sugar, and melted butter in a medium bowl. The mixture should feel like wet sand and hold together when you squeeze it in your palm. If it's too dry, add another tablespoon of melted butter. Press about 2 tablespoons of the mixture into each muffin cup, using the bottom of a small glass or your fingers to pack it down firmly. You want a solid base that won't crumble when you remove the paper liners later.
- Time to pre-bake those crusts. Pop the muffin tin into a 325°F oven for exactly 5 minutes. This step is crucial — it toasts the graham crackers and sets the butter, creating a crust that stays crisp even after adding the creamy filling. Your kitchen will start smelling like cookies, which is your cue that something magical is happening. Don't skip this step or walk away — 5 minutes is all it takes, and over-baking will give you a crust that's too hard to cut through cleanly.
- While the crusts cool, start on your filling. Beat the softened cream cheese in a large bowl until it's completely smooth and fluffy — this should take about 2 minutes on medium speed. Scrape down the sides of the bowl religiously. Every time you see a lump, that's a potential problem later. The cream cheese should look like thick whipped cream and have the consistency of Greek yogurt. If you see any lumps, keep beating. This step is make-or-break for your final texture.
- Add the sugar gradually, about 1/4 cup at a time, beating well after each addition. This method ensures the sugar dissolves completely and incorporates evenly. The mixture will become glossy and slightly thinner as the sugar works its magic. Beat for another minute after the last addition to make sure everything is perfectly smooth. You're looking for a filling that ribbons off the beaters and holds its shape for a few seconds before melting back into the bowl.
- Beat in the eggs one at a time, mixing just until incorporated after each addition. Over-mixing here incorporates too much air, which can cause your cheesecakes to puff up in the oven and then collapse. The filling should still be smooth but slightly thicker than before. Add the vanilla extract and sour cream, mixing just until combined. The final filling should be thick enough to mound slightly when you scoop it, but smooth enough to pipe or spoon easily.
- Time to fill those muffin cups. Use a large cookie scoop or two spoons to divide the filling evenly among the cups, filling each about 3/4 full. Tap the muffin tin gently on the counter to release any air bubbles. These will rise to the surface and create little craters if you skip this step. Smooth the tops with a small offset spatula or the back of a spoon. They don't have to be perfect — we're going for rustic charm here, not bakery perfection.
- Bake at 325°F for 18-20 minutes. The edges should look set but the centers will still jiggle slightly when you gently shake the pan. They'll continue cooking from residual heat as they cool. If you wait until the centers are completely set, you've over-baked them. The tops might crack slightly — that's totally normal and will be covered by the strawberry topping anyway.
- Cool completely in the pan on a wire rack for about an hour, then refrigerate for at least 2 hours (or up to 2 days). This chilling time is non-negotiable — it allows the filling to set properly and develop that perfect creamy texture. If you're in a rush, you can speed-chill them in the freezer for 30 minutes, but the texture won't be quite as luxurious.
- While the cheesecakes chill, make your strawberry topping. Combine the strawberries, sugar, lemon juice, cornstarch, and water in a small saucepan. Cook over medium heat, stirring frequently, until the strawberries release their juices and the mixture starts to bubble. The cornstarch will work its thickening magic, turning the strawberry juice into a glossy sauce that coats the back of a spoon. Let it cool completely before topping the cheesecakes — warm topping will melt your beautiful chilled cheesecakes.
That's it — you did it. But hold on, I've got a few more tricks that'll take this to another level...
Insider Tricks for Flawless Results
The Temperature Rule Nobody Follows
Room temperature ingredients aren't just a suggestion — they're the difference between cheesecake success and a lumpy disaster. When cream cheese is cold, it doesn't incorporate smoothly with the sugar, leaving you with tiny lumps that no amount of mixing will fix. Same goes for eggs and sour cream. Set everything out 2 hours before you start, or speed things up by placing cream cheese (still wrapped) in a bowl of warm water for 15 minutes. Your future self will thank you when you're staring at a bowl of perfectly smooth filling instead of trying to press cream cheese lumps through a sieve like some kind of dessert detective.
Why Your Nose Knows Best
Here's something most recipes don't tell you: your sense of smell is actually the best indicator of when these are done. When the graham cracker crust starts to smell toasty and nutty, you're about 3 minutes away from perfect doneness. The filling will still look slightly jiggly in the centers, but the edges will be set and just starting to pull away from the sides of the cups. If you wait until a toothpick comes out clean, you've over-baked them and they'll taste like sweet cardboard. Trust your nose — it's been evolving for millions of years to detect when food is perfectly cooked.
The 5-Minute Rest That Changes Everything
After you take these out of the oven, let them rest in the muffin tin for exactly 5 minutes before moving them to the fridge. This brief rest allows the proteins to relax and prevents those dreaded cracks from forming as they cool. It's like letting a steak rest after grilling — it makes the difference between a smooth, creamy texture and one that's grainy and disappointing. Use this time to make yourself a cup of coffee and admire your handiwork. You've earned this moment.
The Overnight Miracle
Here's where patience really pays off. While you can eat these after just 2 hours of chilling, they transform into something completely magical after an overnight rest in the fridge. The flavors meld and deepen, the texture becomes impossibly creamy, and the whole dessert just... sings. I always make these the day before I need them, then sneak one for "quality control" in the morning. It's like they're aging like fine wine, except they're dessert and they're perfect after 24 hours.
Creative Twists and Variations
This recipe is a playground. Here are some of my favorite ways to switch things up:
The Chocolate Lover's Dream
Replace 2 tablespoons of the graham cracker crumbs with cocoa powder for a chocolate cookie crust. Add 2 tablespoons of melted dark chocolate to the filling, and top with chocolate-dipped strawberries. The result is a mini cheesecake that tastes like chocolate-covered strawberries in dessert form. Rich, decadent, and absolutely irresistible to anyone who believes dessert isn't complete without chocolate.
The Tropical Escape
Add 1/4 cup of cream of coconut to the filling and replace the vanilla with coconut extract. Top with a mixture of mango and passion fruit for a tropical twist that'll transport you straight to a beach vacation. The coconut adds this beautiful subtle flavor that makes the whole dessert taste like summer in the Caribbean, even in the dead of winter.
The Lemon Burst
Add the zest of one lemon to the filling and replace the sour cream with Greek yogurt. Top with a quick lemon curd instead of strawberries for a bright, tangy version that makes your taste buds dance. This one's perfect for spring brunches or baby showers — it looks delicate and sophisticated but tastes like sunshine and happiness.
The Salted Caramel Swirl
Drizzle caramel sauce over the filling before baking, then use a toothpick to create swirls. Top with more caramel and a sprinkle of flaky sea salt. The contrast between sweet and salty, creamy and sticky, is absolutely addictive. This version has disappeared from every potluck I've ever brought it to, usually with people asking for the recipe before they've even finished chewing.
The Berry Medley
Use a mixture of raspberries, blueberries, and strawberries for the topping. The different berries bring different levels of sweetness and tartness, creating a more complex flavor profile. Plus, it looks absolutely gorgeous — like a tiny edible garden on top of each cheesecake. Kids love helping arrange the berries, making this a great family baking project.
The Pumpkin Spice (Fall Favorite)
Add 1/4 cup pumpkin puree, 1 teaspoon cinnamon, 1/2 teaspoon nutmeg, and 1/4 teaspoon cloves to the filling. Top with a dollop of whipped cream and a dusting of cinnamon. This version tastes like autumn in dessert form and is perfect for Thanksgiving when you want something pumpkin but not another pie.
Storing and Bringing It Back to Life
Fridge Storage
These mini cheesecakes will keep beautifully in the refrigerator for up to 5 days, though I challenge you to make them last that long. Store them in an airtight container with wax paper between layers to prevent the tops from getting sticky. The strawberry topping might weep slightly after day 3, but a quick stir will bring it right back to life. Pro tip: store them without the topping if you're making them more than a day ahead, then add the topping just before serving for maximum freshness.
Freezer Friendly
These freeze like absolute champions for up to 3 months. Freeze them uncovered on a baking sheet for 2 hours, then transfer to a freezer bag with parchment paper between layers. Thaw overnight in the refrigerator for best results, though I've been known to microwave one for 20 seconds when desperation strikes. The texture holds up beautifully — sometimes I think they're even better after freezing because the flavors have more time to develop.
Best Reheating Method
While these are best served chilled, you can bring them back to room temperature if you prefer. Remove from the refrigerator 30 minutes before serving, or if they're frozen, thaw overnight in the fridge. Never microwave them warm — cheesecake is meant to be cool and creamy, not hot and sad. If your strawberry topping seems too thick after storing, stir in a teaspoon of warm water to loosen it up and restore that perfect spoon-coating consistency.