Love this? Pin it for later! 📌
Mornings in my house used to be a frantic dance of lunch-packing, dog-feeding, and shoe-finding while I tried to coax something warm and filling into everyone’s stomachs. Then I discovered the magic of freezer-prep grits—silky, cheesy, buttery spoonfuls of Southern comfort that reheat in two minutes flat. Now I spend one relaxed Sunday afternoon stirring a single pot, portioning it into neat little bricks of creamy goodness, and I’m rewarded with a month of breakfasts that taste like I stood over the stove for an hour. Whether you’re racing to work, feeding ravenous teenagers, or simply craving something soul-soothing before the sun is fully up, these make-ahead grits will change your mornings forever.
Why This Recipe Works
- Ultra-creamy texture: A 3:1 liquid-to-grits ratio plus a final enrichment of butter and cream keeps them from seizing up in the freezer.
- Reheat in 90 seconds: Vacuum-sealed portions steam back to life faster than you can toast bread.
- Cheese stays melty: We fold in sharp cheddar after the grits cool slightly so the fat doesn’t break and turn grainy.
- Batch-friendly: One heavy pot yields twelve hearty servings for about $6 total.
- Customizable: Swap in pepper-jack, add crumbled bacon, or make them vegan with coconut milk and nutritional yeast.
- No ice-crystal chalkiness: A thin film of butter on top before freezing blocks freezer burn.
Ingredients You'll Need
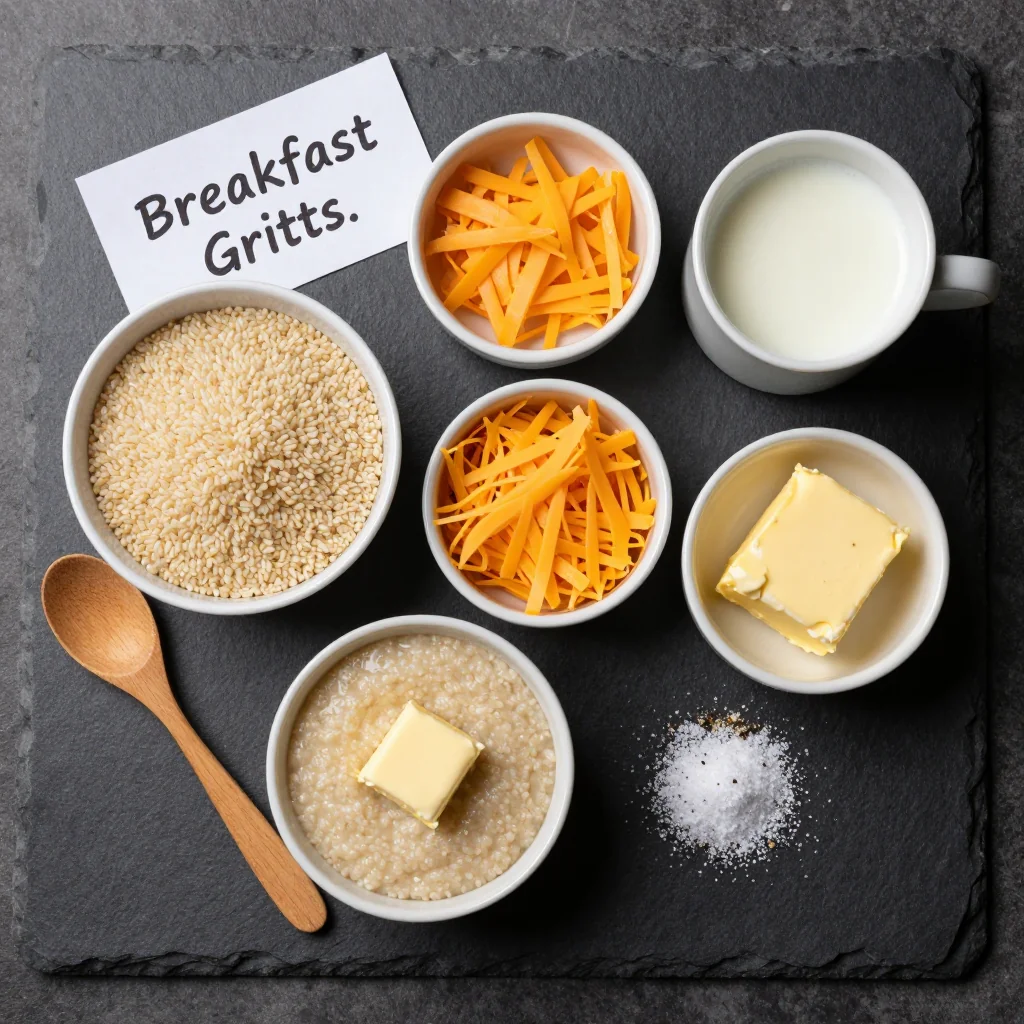
Great grits begin with great corn. Look for stone-ground yellow or white grits from a reputable mill (I’m partial to Anson Mills and Bob’s Red Mill). Stone-ground retains the germ, so they boast deeper flavor and a touch more nutrition than the “quick” versions, yet they still freeze and reheat beautifully when treated right. If you only have quick grits, reduce the cooking liquid by ½ cup and the simmer time to 8 minutes.
For the liquid, I use half whole milk and half low-sodium chicken stock. The milk lends sweetness and body, while the stock sneaks in umami that amplifies the cheese. If you’re vegetarian, swap the stock for an equal amount of unsweetened oat milk plus ½ teaspoon of white miso.
Butter is non-negotiable. I add it twice: once while the grits are still bubbling, to emulsify into the starches, and again right before portioning, to create a protective cap. Use good, cultured butter if you can; the tangy notes play nicely with the sharp cheddar.
Speaking of cheddar, buy a block and shred it yourself. Pre-shredded cellulose-dusted cheese can seize when frozen. A 50/50 mix of extra-sharp cheddar and low-moisture mozzarella gives both flavor and stretch. Dairy-free? Replace the dairy with full-fat coconut milk and use 1 cup nutritional yeast plus 1 tablespoon white bean purée for creaminess.
Finally, season assertively. Corn loves salt, and freezing dulls flavors. I start with 1 teaspoon kosher salt per cup of dried grits, then adjust with a few dashes of hot sauce at the table rather than in the pot; vinegar can turn gritty when frozen.
How to Make Freezer Prep Breakfast Grits with Cheese and Butter
Bloom the grits
In a dry, heavy Dutch oven toast 2 cups stone-ground grits over medium heat, stirring constantly, until they smell like popcorn and turn a shade darker—about 4 minutes. This deepens flavor and helps the grains stay separate later.
Heat the liquid
Meanwhile, in a separate saucepan combine 3 cups whole milk, 3 cups low-sodium chicken stock, and 1 teaspoon kosher salt. Warm until steaming but not boiling; hot liquid prevents lumps.
Whisk & simmer
Slowly whisk the hot liquid into the toasted grits. Reduce heat to low, cover partially, and cook 25 minutes, whisking every 5 minutes to keep the bottom from scorching. If they thicken too fast, add a splash of water.
Enrich with butter
When the grits are tender but still pourable, stir in 4 tablespoons unsalted butter until glossy. Remove from heat and let cool 5 minutes; high heat can split the fat when cheese is added.
Fold in cheese
Add 2 cups shredded extra-sharp cheddar and 1 cup shredded low-moisture mozzarella. Stir until just melted; over-mixing can make the mixture stringy.
Portion for freezer
Line a 12-cup muffin tin with silicone muffin molds. Spoon ½ cup grits into each well. Tap the pan to level tops. Drizzle each with ½ teaspoon melted butter to prevent ice crystals.
Flash-freeze
Place the tray on a flat shelf and freeze 2 hours, until solid. Pop the grit “pucks” out and transfer to a labeled zip-top bag; squeeze out air. They’ll keep 3 months at peak quality.
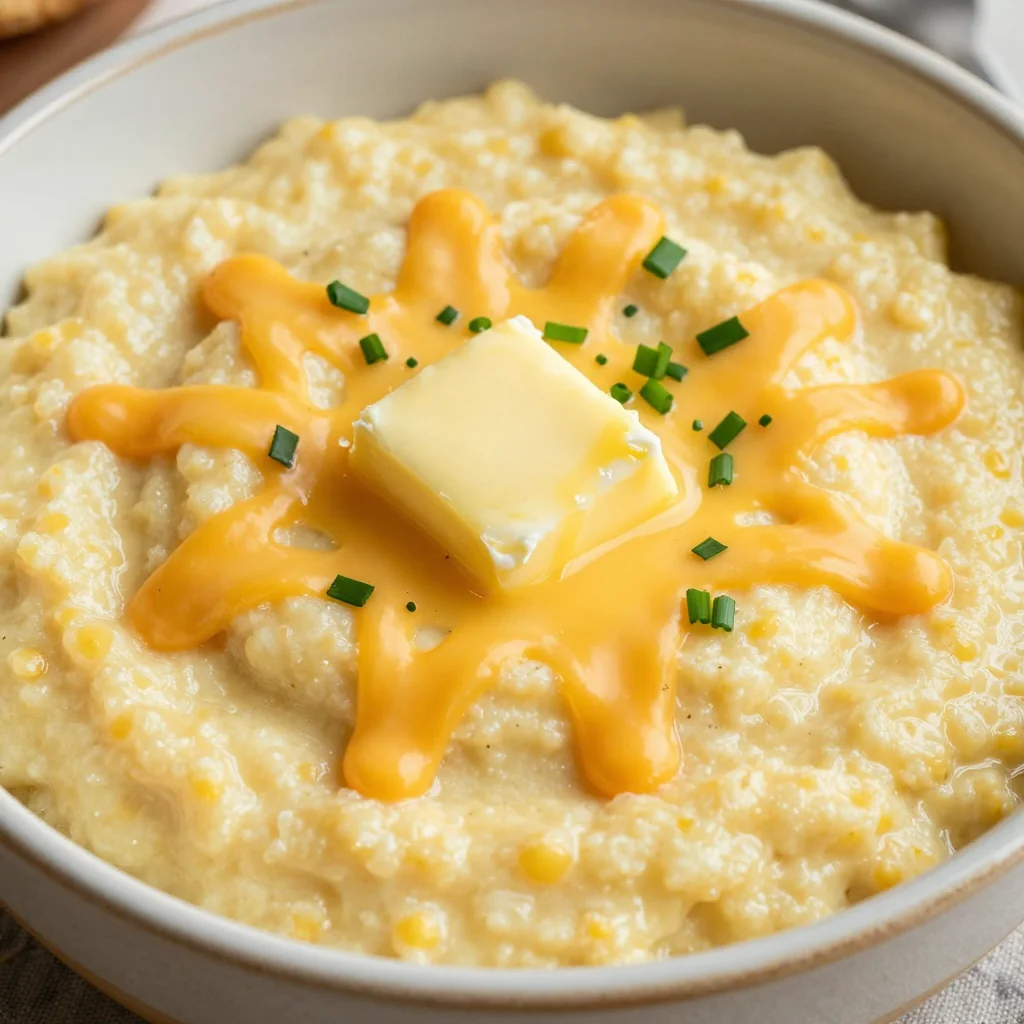
Reheat & serve
Unwrap a frozen puck into a microwave-safe bowl. Add 1 tablespoon milk, cover loosely, and microwave on 70% power for 90 seconds. Stir, then zap 30 seconds more until steaming and creamy. Finish with an extra pat of butter and a crack of black pepper.
Expert Tips
Cool before freezing
Warm grits can create condensation inside the wrapper, leading to icy patches. Let them come to room temp 30 minutes first.
Revive with liquid
Always add a splash of milk or water when reheating; starches tighten in the cold and need moisture to loosen.
Label & date
Write the flavor (cheddar, jalapeño-bacon, etc.) and the freeze date on the bag so you grab the right batch in a sleepy haze.
Low-power reheat
High power causes the cheese to separate. 70% power keeps the emulsion stable and the texture spoon-coating.
Variations to Try
- Pimento Cheese & Bacon: Stir in ½ cup diced pimentos and ½ cup crumbled cooked bacon before portioning.
- Jalapeño-Cheddar: Swap the mozzarella for pepper-jack and fold in 2 tablespoons minced pickled jalapeños.
- Herb-Goat Cheese: Replace cheddar with 6 oz softened goat cheese and 2 tablespoons each minced chives and dill.
- Sweet Maple-Brown Sugar: Omit cheese, reduce salt to ½ teaspoon, and whisk in ⅓ cup maple syrup and 2 tablespoons brown butter; serve with toasted pecans.
- Vegan “Cheesy”: Use coconut milk, vegan butter, and 1 cup nutritional yeast plus 1 tablespoon white miso for umami.
Storage Tips
Freezer: Wrapped pucks keep 3 months at 0°F. For longer storage, vacuum-seal individual portions; they’ll stay prime up to 6 months.
Refrigerator: If you plan to eat within 4 days, store the grits in an airtight container with plastic wrap pressed directly onto the surface to prevent a skin.
Reheating from thawed: Overnight in the fridge, then microwave 45 seconds at 70% power with 1 tablespoon liquid.
Oven (for a crowd): Place frozen pucks in a buttered 8-inch pan, add ½ cup milk, cover with foil, and bake 25 minutes at 350°F until bubbly, stirring halfway.
Frequently Asked Questions
Freezer Prep Breakfast Grits with Cheese and Butter
Ingredients
Instructions
- Toast grits: In a dry Dutch oven toast grits 4 min over medium heat until fragrant.
- Heat liquid: Warm milk, stock, and salt in a saucepan until steaming.
- Simmer: Whisk hot liquid into grits; cook covered on low 25 min, stirring often.
- Enrich: Stir in 3 tablespoons butter until melted and smooth.
- Add cheese: Off-heat fold in cheeses until just melted.
- Portion: Spoon ½ cup into silicone muffin molds; top each with ½ teaspoon melted butter.
- Freeze: Flash-freeze 2 hours, then store pucks in a zip-top bag up to 3 months.
- Reheat: Microwave frozen puck with 1 tablespoon milk at 70% power for 90 seconds, stir, then 30 seconds more until creamy.
Recipe Notes
For ultra-smooth texture, whisk in ¼ cup heavy cream after reheating. Adjust salt at the table; freezing dulls seasoning.