Love this? Pin it for later! 📌
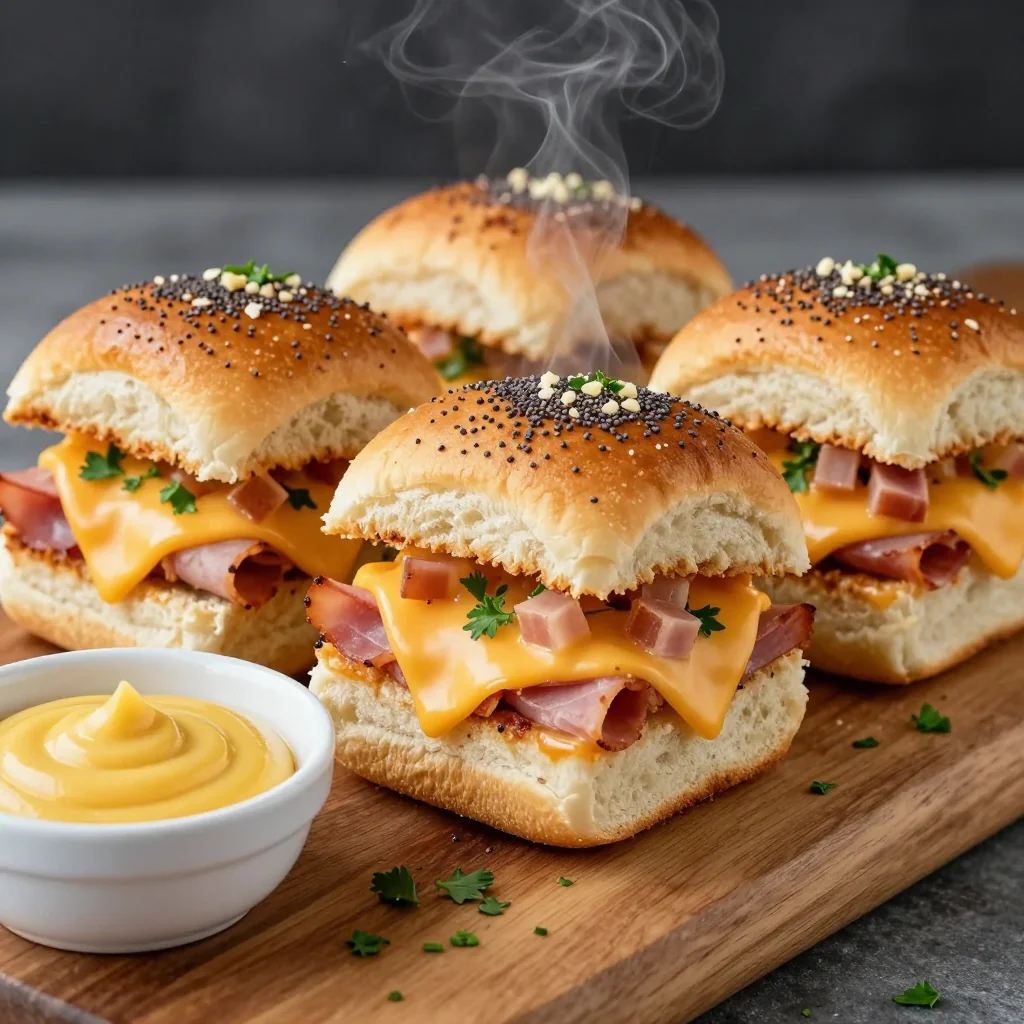
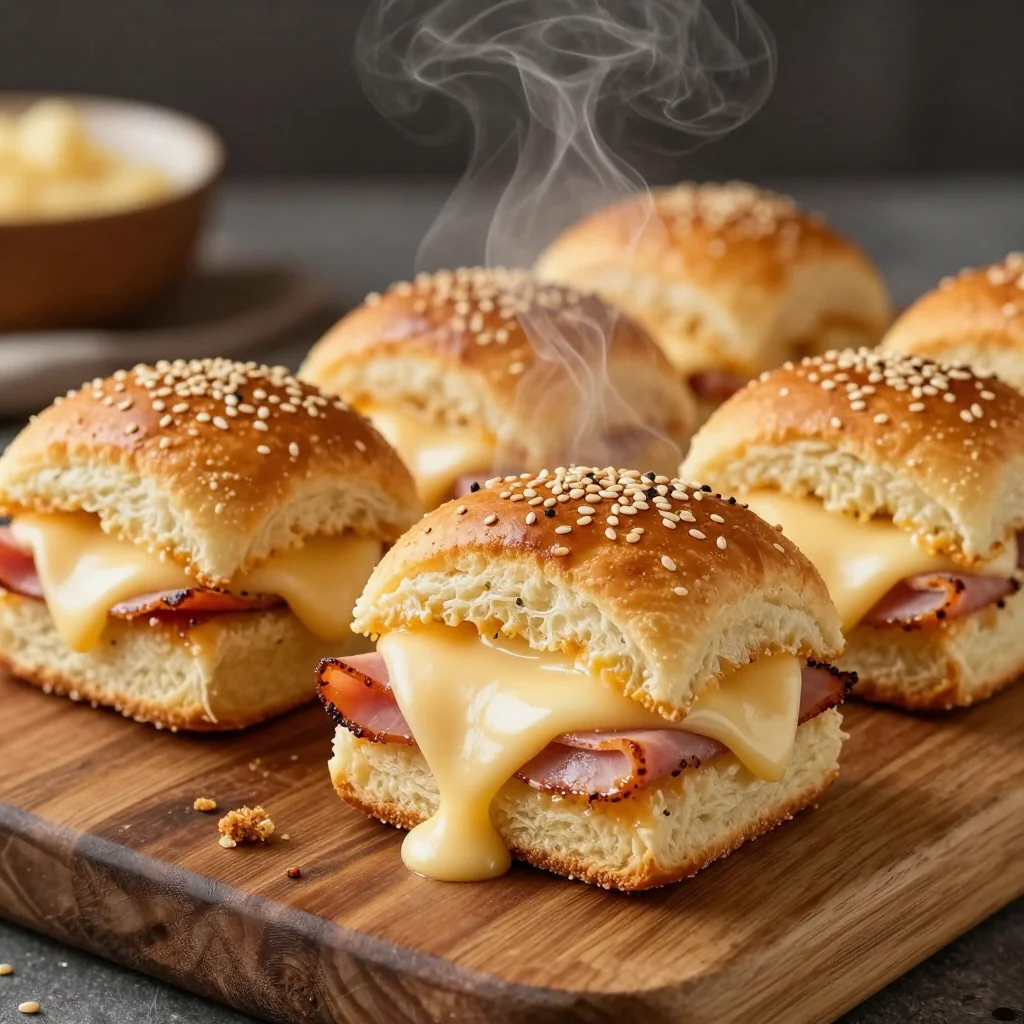
There’s a moment at every birthday party, game-day gathering, or classroom celebration when the room suddenly quiets, tiny hands stop mid-air, and every child makes a beeline toward the food table. In our house, that moment happens the second I walk out carrying a sheet pan of these warm, glossy, kid-friendly ham and cheese sliders. The sweet Hawaiian rolls, the salty ham, the blanket of melty cheese, the buttery mustard–onion glaze that seeps into every crevice—chef’s kiss. I started baking these after my oldest begged for “those little sandwiches from so-and-so’s party,” and I quickly realized that, with a few tweaks, I could make them softer, less salty, and more nutritious without sacrificing the magic. Four years later, they’ve become the most-requested recipe in my PTA e-mail thread, the star of every sports banquet, and the fastest way to earn “cool mom” status without breaking a sweat. Below you’ll find every trick I’ve learned for keeping the rolls pillowy, the filling perfectly balanced, and the tops shiny enough to rival bakery cases—all while using everyday grocery staples.
Why This Recipe Works
- One-pan wonder: everything bakes together, so the bottoms stay soft while the tops caramelize.
- Hidden veggie option: slip in a layer of baby-spinach leaves—kids never notice.
- Make-ahead magic: assemble up to 24 hrs early; bake when guests arrive.
- Portion control built in: pre-sliced rolls mean every slider is identical—no fighting over “the big one.”
- Freezer friendly: flash-freeze baked sliders, then reheat at 300 °F for 10 min—taste just-baked.
- Allergy adaptable: swap dairy-free cheese and vegan butter; still gloriously gooey.
Ingredients You'll Need
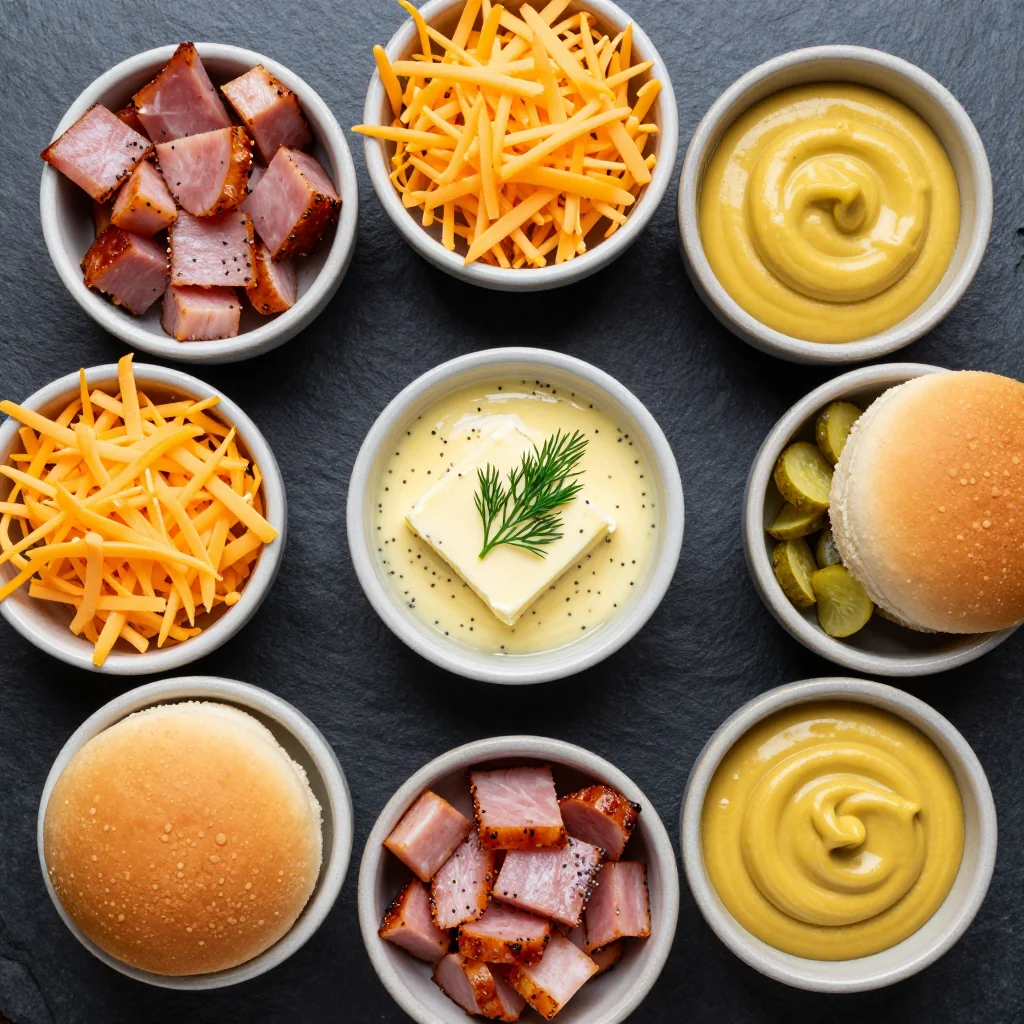
Great sliders start with great components, but that doesn’t mean you need artisanal everything. Below is a quick shopping guide so you know where to save and where to splurge.
Hawaiian Sweet Rolls – A 12-count package of King’s Hawaiian is the gold standard for a reason: they’re ethereally soft, lightly sweet, and perfectly sized for kid hands. If your store is out, look for “Hawaiian style” generic brands; just avoid generic dinner rolls—they’re too bready and will overpower the filling. Gluten-free? Try Schar’s mini ciabattas; you’ll need to cut the glaze quantity in half because they’re smaller.
Deli Ham – Go for a low-sodium, nitrate-free option (Boar’s Head or Applegate). I prefer thin slices because they drape without tearing; shaved ham can clump and feel spongy. If you’re cooking for a mixed group, half turkey and half ham works beautifully—just label the pans.
Cheese – A 50/50 blend of mild Swiss and baby Swiss gives that classic “ham-and-Swiss” flavor without the bitterness kids dislike. Prefer all-American? Use 8 oz of sliced white American for maximum melt. Dairy-free? Violife’s “Just Like Swiss” shreds melt shockingly well.
Butter Glaze – Unsalted butter lets you control salt; melted and whisked with Dijon, honey, and a whisper of onion powder. The honey balances the mustard so children don’t detect “heat.”
Optional Add-ins – A single layer of baby spinach adds nutrients and color without changing flavor. Thin apple slices offer a sweet crunch that pairs magically with ham.
How to Make Kid Friendly Ham and Cheese Sliders for Parties
Preheat & Prep Pan
Set oven to 350 °F (175 °C). Lightly coat a 9×13-inch metal baking pan with non-stick spray. Line the bottom with parchment paper, leaving “handles” on the long sides for easy removal later. (Trust me, kids are impatient; foil handles = no stuck rolls.)
Slice the Rolls
Using a long serrated knife, slice the entire 12-pack of connected rolls horizontally while they’re still attached. Think of it like cutting one giant sandwich. Leave the bottom half in the pan; set the top half aside on a cutting board.
Layer Flavor
Brush the cut surface of the bottom buns with 1 Tbsp of the melted butter mixture. This creates a moisture barrier so the rolls stay fluffy. Next, layer 9 oz of ham slices in a shingled pattern, folding large slices in half so every bite has meat. Top with 6 oz of cheese, breaking slices to fit without overhang (cheese that drapes onto the pan will scorch).
Add Tops & Poke
Return the top bun slab, cut side down. Using a toothpick, poke 12 shallow holes over the surface; this allows the glaze to seep in. (Kids love helping with this step—supervised, of course!)
Whisk the Magic Glaze
In a microwave-safe bowl, melt 6 Tbsp unsalted butter. Whisk in 1 Tbsp honey, 1 Tbsp Dijon, 1 tsp Worcestershire, ½ tsp onion powder, ½ tsp garlic powder, and a pinch of salt until emulsified. The mixture should look like glossy caramel.
Brush Generously
Using a silicone brush, coat the entire surface of the rolls, paying special attention to the seams. You’ll use about ¾ of the glaze; reserve the rest for a mid-bake top-up. Don’t drown them—soggy tops are sad tops.
First Bake
Cover the pan loosely with foil, tenting so it doesn’t touch the glaze. Bake 12 min. This steams the sandwiches and melts the cheese without over-browning.
Uncle & Finish
Remove foil, brush with remaining glaze, rotate pan 180°, bake 5-7 min more until tops are burnished golden and cheese peeks out in melty puddles. If you like a shinier finish, switch to broil for 45 sec—watch like a hawk!
Rest & Slice
Let stand 5 min. Using a long knife, follow the roll seams to slice into 12 sliders. The resting period lets the cheese set so it doesn’t ooze out when kids grab them.
Expert Tips
Temperature Tricks
Insert an instant-read thermometer between two rolls; when the internal temp hits 160 °F, the cheese is fully melted and safe for little eaters.
Keep ‘em Soft
Place a small ramekin of water in the corner of the pan while baking; the steam keeps the buns from drying out.
Color Pop
Add a pinch of turmeric to the glaze; it gives a sunny hue that screams “kid fun” without affecting flavor.
Clean Cuts
Wipe your knife on a damp towel between cuts; melted cheese won’t drag into the next slider.
Party Timeline
Bake during the first party activity; by the time musical chairs ends, sliders are ready.
Allergy Swap
Use Earth Balance soy-free buttery sticks and Violife cheese for a fully dairy-free version that tastes identical.
Variations to Try
- Turkey & Cranberry: sub sliced turkey + thin cranberry sauce layer for a holiday twist.
- Pizza Style: replace ham with pepperoni, use mozzarella, and add ½ tsp Italian seasoning to the glaze.
- PB&J Sliders: fill with peanut butter & grape jelly, skip the savory glaze, brush with cinnamon honey butter.
- Caprese: ham out, fresh mozz + tomato + basil in; swap glaze for garlic-basil butter.
- Breakfast Sliders: layer scrambled eggs, ham, mild cheddar; sub maple syrup for honey in glaze.
Storage Tips
Room Temp: Keep cooked sliders in a covered dish up to 2 hours during service. Beyond that, refrigerate.
Refrigerate: Cool completely, transfer to an airtight container, refrigerate up to 3 days. Reheat at 300 °F for 10 min wrapped in foil.
Freeze: Wrap individual sliders in plastic, then foil; freeze up to 2 months. Thaw overnight in fridge, reheat as above.
Make-ahead unbaked: Assemble through Step 6, cover tightly with plastic wrap, refrigerate up to 24 hrs. Add 3 min to covered bake time.
Frequently Asked Questions
Kid Friendly Ham and Cheese Sliders for Parties
Ingredients
Instructions
- Preheat & Prep: Preheat oven to 350 °F. Lightly grease a 9×13 pan and line with parchment.
- Slice Rolls: Cut the connected rolls horizontally while intact. Place bottom half in pan.
- Layer: Brush cut surface with a little melted butter. Layer ham, optional spinach, and cheese. Replace top buns.
- Make Glaze: Melt butter, whisk in honey, Dijon, onion powder, garlic powder, Worcestershire, and salt.
- Brush: Generously brush glaze over tops and seams; reserve a spoonful.
- Bake: Cover with foil, bake 12 min. Uncover, brush remaining glaze, bake 5-7 min more until golden.
- Serve: Cool 5 min, cut along seams, serve warm.
Recipe Notes
For a glossy finish, broil 45 sec at the end—watch closely! Sliders can be assembled up to 24 hrs ahead; add 3 min to covered bake time.