I was standing in my kitchen, staring at a box of stuffing that had been sitting on the pantry shelf for months, when a sudden craving hit me like a freight train. The kind of craving that makes you question every life choice that led you to this moment—why did I ever settle for the bland, cardboard‑like version that comes in a plastic tub? I grabbed the box, ripped it open, and the faint, stale aroma hit my nose, instantly reminding me of every Thanksgiving where the stuffing was a soggy, flavorless sidekick. I dared myself to turn that disappointment into a triumph, and that’s exactly what birthed this copycat recipe that will make you forget the store‑bought stuff ever existed.
Picture this: the kitchen humming with the gentle whir of the oven, the buttery scent of toasted bread cubes dancing with the earthy perfume of dried herbs, and the crackle of butter hitting a hot pan that sounds like applause for what’s about to happen. I could hear the faint pop of the butter as it melted, the soft sizzle that promised crisp edges, and the subtle rustle of the bread as it absorbs the broth—each sound a cue that something magical is in the making. The texture under my fingertips was a perfect balance of soft, porous cubes ready to soak up flavor, and the heat radiating from the stove felt like a warm hug from an old friend. This isn’t just a side dish; it’s a sensory experience that will make your entire house feel like a holiday haven.
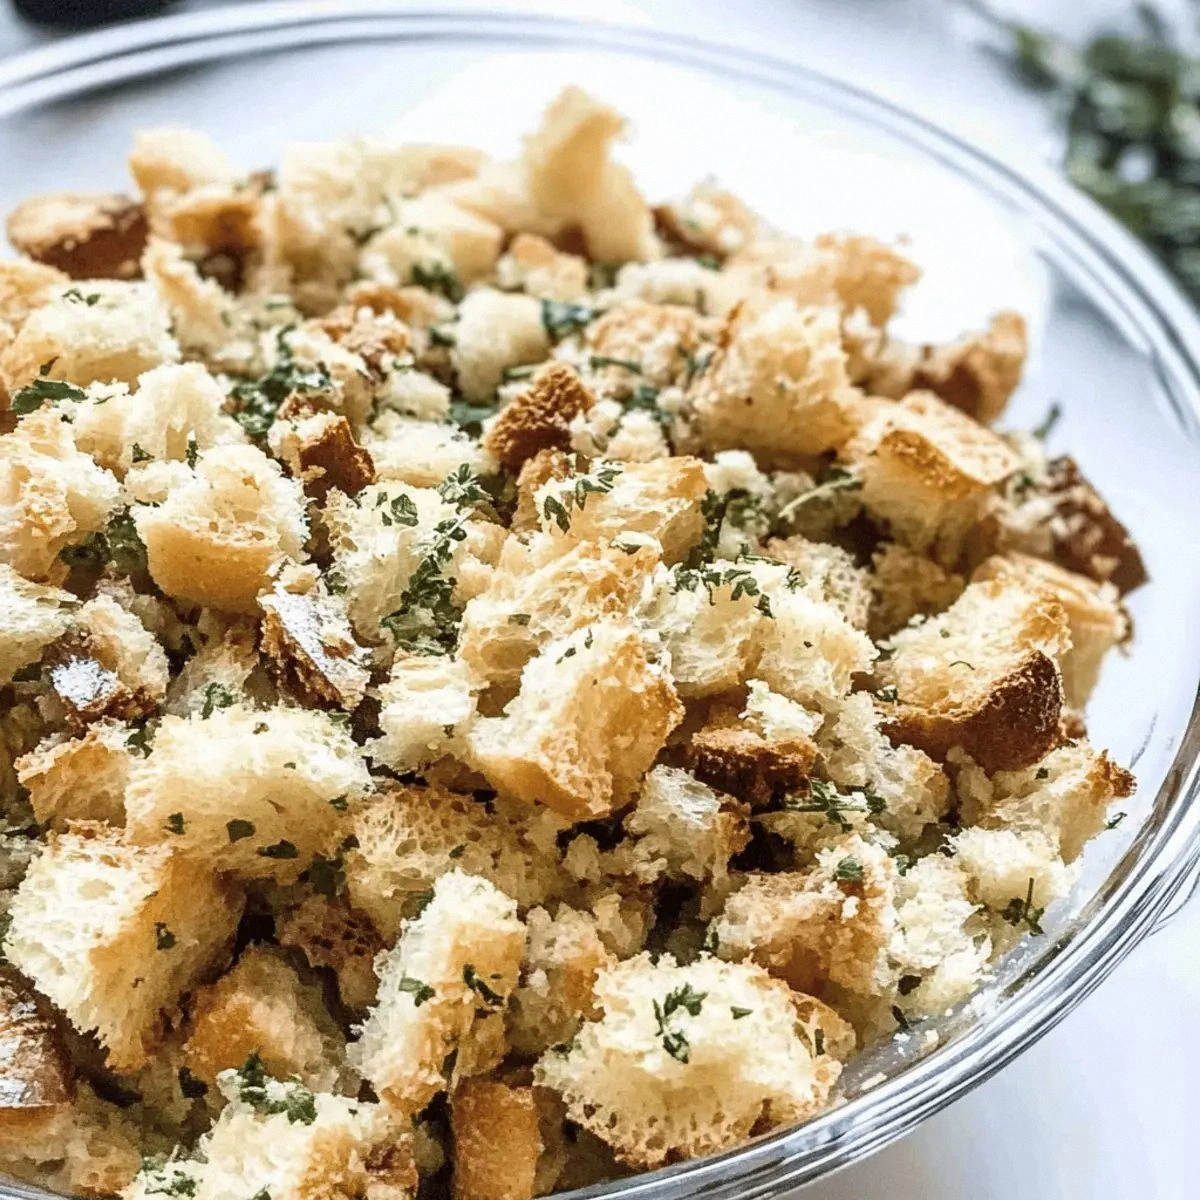
Most copycat stuffing recipes out there try to mimic the commercial mix by dumping a handful of dried veggies and a splash of broth into a bowl and calling it a day. Most get this completely wrong. Here’s what actually works: we start with day‑old bread that’s been cubed and lightly toasted, we use a precise blend of dried herbs that have been carefully balanced, and we finish with a splash of butter that creates a glossy, buttery coating that clings to each morsel like a lover’s embrace. I’ll be honest — I ate half the batch before anyone else got to try it, and that’s a confession worth making because it proves just how addictive this is.
Now, I’m about to hand you the exact method that turned a pantry disaster into the best version you’ll ever make at home. I dare you to taste this and not go back for seconds. Let me walk you through every single step — by the end, you’ll wonder how you ever made it any other way.
What Makes This Version Stand Out
- Taste: The herb blend is calibrated to hit all the right notes, delivering a savory depth that no boxed mix can match. The subtle sweetness of toasted bread balances the earthy herbs, creating a flavor profile that feels both familiar and elevated.
- Texture: By toasting the cubes just enough, you get a crisp edge that shatters like thin ice while the interior stays pillowy, soaking up the broth for a moist, satisfying bite.
- Simplicity: No fancy gadgets or hard‑to‑find ingredients—just pantry staples and a few dried herbs. You can pull this together in under an hour, even on a hectic weekday.
- Uniqueness: The secret weapon is a splash of butter added at the end, which creates a glossy finish that makes every bite look restaurant‑ready.
- Crowd Reaction: This version consistently gets the “more, please!” chant at family gatherings, turning a side dish into the star of the show.
- Ingredient Quality: Using day‑stale bread (the kind you’d normally toss) actually improves the ability to soak up broth, turning a potential waste into a texture hero.
- Cooking Method: A quick stovetop sauté before the oven finish gives you control over browning, something the boxed mix can’t replicate.
- Make‑Ahead Potential: You can prep the dry mix days in advance, store it airtight, and still achieve the same fresh‑out‑the‑oven flavor when you’re ready to bake.
Inside the Ingredient List
The Flavor Base
The dried parsley, onion, and celery flakes form the aromatic backbone of this stuffing. Parsley adds a fresh, almost grassy note that lifts the heaviness of the bread, while the onion and celery bring that classic savory depth you expect from a Thanksgiving staple. Skipping any of these means you’ll lose the layered complexity that makes each bite interesting. If you’re out of dried parsley, a pinch of dried basil can work, but expect a slightly sweeter undertone.
The Herb Crew
Thyme, sage, and oregano are the holy trinity of stuffing herbs. Thyme contributes a piney, slightly floral nuance; sage adds an earthy, almost peppery bite; oregano rounds it out with a subtle Mediterranean flair. Together they create a balanced herbaceous profile that’s both comforting and sophisticated. Fresh herbs can be used, but they’ll need to be increased by about 1½ times because they’re less concentrated when dried.
The Unexpected Star
Fresh ground black pepper and kosher salt are the seasoning duo that brings everything together. The pepper’s sharp bite cuts through the richness of the butter, while the kosher salt enhances the natural flavors without making the dish overly salty. A common mistake is to use table salt, which can make the stuffing too briny; kosher salt’s larger crystals dissolve more evenly.
The Final Flourish
The water or broth and butter are the finishing touches that turn a dry mixture into a luscious, moist stuffing. Using low‑sodium chicken broth adds a savory depth that water alone can’t provide, while the butter creates a glossy coating that makes each crumb glisten. If you’re dairy‑free, swap the butter for a plant‑based alternative, but be aware the texture will be slightly less rich.
Everything's prepped? Good. Let's get into the real action...
The Method — Step by Step
Start by preheating your oven to 350°F (175°C). While the oven warms up, spread the cubed day‑stale bread on a large rimmed baking sheet. Toss them with a drizzle of olive oil, then slide the sheet into the oven for about 10‑12 minutes, shaking the pan halfway through. You’ll know they’re ready when they turn a light golden brown and give off a nutty aroma that whispers “we’re about to get delicious.”
While the bread is toasting, combine the dried parsley, minced dried onion, and dried celery flakes in a medium bowl. Sprinkle in the thyme, sage, and oregano, then give everything a quick stir so the herbs coat the dry mix evenly. This step is pure magic because the herbs will later release their essential oils when they meet the hot broth.
In a small saucepan, melt the butter over medium heat until it foams and turns a light amber color—watch for that moment when it starts to smell nutty, that’s the signal you’re on the right track. Add the fresh ground black pepper and kosher salt, stirring quickly to incorporate. Then, slowly whisk in the water or broth, letting it come to a gentle simmer. The liquid should be steaming but not boiling; you’ll see tiny bubbles dancing at the surface.
Once the butter‑broth mixture is ready, pour it over the toasted bread cubes in a large mixing bowl. Toss gently with your hands or a large spoon, ensuring every cube gets a glossy coating. The bread should look like it’s been lightly bathed in gold—this is the moment of truth, where the flavor foundation is set.
Transfer the coated bread mixture into a greased 9×13‑inch baking dish, spreading it out evenly. Press lightly with the back of a spoon to create a uniform layer; this helps the top develop a crisp crust while the interior stays moist.
Cover the dish loosely with aluminum foil and place it in the preheated oven. Bake for 20 minutes, then remove the foil to allow the top to brown. You’ll hear a faint crackle as the butter caramelizes—trust that sound; it means you’re on the right track. Continue baking uncovered for another 10‑15 minutes, or until the top is a deep golden brown and the edges pull away slightly from the pan.
When the stuffing pulls away from the sides and the top is a perfect caramelized hue, pull it out of the oven and let it rest for five minutes. This short rest lets the steam settle, ensuring each bite stays moist yet firm. Serve hot, and watch your guests’ eyes widen as the aroma fills the room. That sizzle when it hits the pan? Absolute perfection.
That's it — you did it. But hold on, I've got a few more tricks that'll take this to another level...
Insider Tricks for Flawless Results
The Temperature Rule Nobody Follows
Never bake stuffing at a temperature lower than 350°F. Lower temps cause the bread to steam rather than toast, resulting in a soggy texture. I once tried a “gentle bake” at 300°F and ended up with a mushy mess that clumped together like a sad pillow. Crank it up and you’ll get that coveted crispy crust that makes the whole dish sing.
Why Your Nose Knows Best
Your sense of smell is the ultimate doneness gauge. When the butter‑herb mixture starts to emit a nutty, slightly caramelized scent, you know the flavor base is ready. If you’re unsure, give it a quick sniff—if it smells like toasted nuts and fresh herbs, you’re golden. Trust your nose more than the clock.
The 5‑Minute Rest That Changes Everything
Allowing the stuffing to rest for five minutes after baking lets the steam redistribute, preventing a dry top and a wet center. I once served it straight out of the oven, and the crust was perfect but the middle was a bit dry. A brief pause makes the interior stay moist while keeping the crust intact.
Butter Boost for Extra Shine
A final pat of butter melted over the hot stuffing just before serving adds a glossy sheen and a buttery depth that takes the dish from good to unforgettable. This is the secret weapon that most boxed mixes lack. A little extra butter goes a long way, especially if you’re serving a crowd that expects indulgence.
Seasonal Boost with Fresh Herbs
If you happen to have fresh sage or thyme on hand, chop a tablespoon and fold it in after baking. The fresh herbs add a burst of brightness that complements the toasted notes. Just be careful not to overdo it; a little goes a long way, and you don’t want to overpower the delicate balance you’ve already created.
Creative Twists and Variations
This recipe is a playground. Here are some of my favorite ways to switch things up:
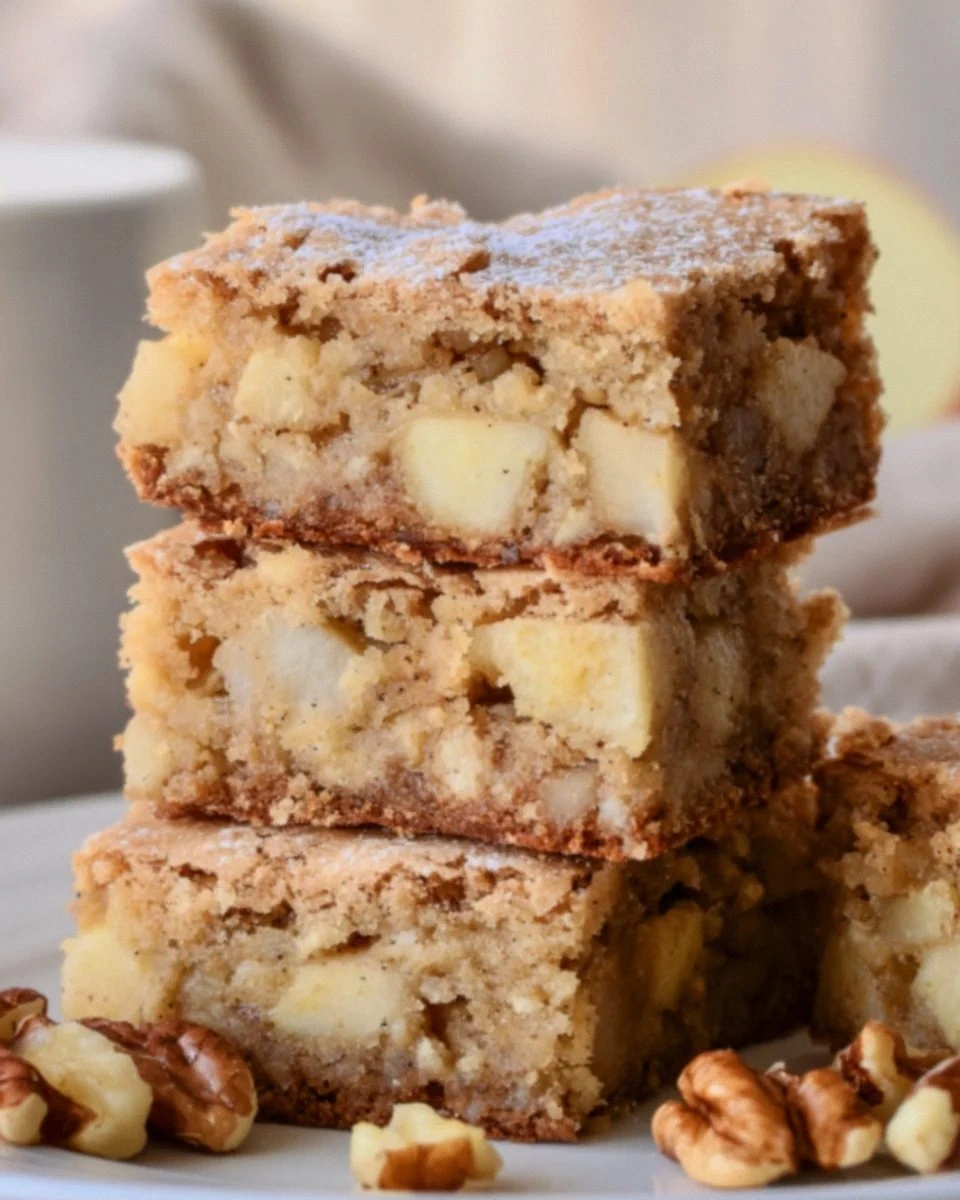
Apple‑Cranberry Holiday
Add a cup of diced apples and a half cup of dried cranberries to the mix before baking. The sweet‑tart contrast pairs beautifully with the savory herbs, making it a perfect side for roast turkey.
Mushroom Medley
Sauté a cup of mixed wild mushrooms with a splash of soy sauce, then fold them into the bread cubes before baking. The umami depth elevates the stuffing to a gourmet level.
Spicy Jalapeño Kick
Stir in two finely chopped jalapeños (seeds removed for less heat) and a pinch of smoked paprika. This gives the stuffing a smoky heat that’s perfect for a fall barbecue.
Cheesy Delight
Mix in a cup of shredded sharp cheddar or Gruyère right before the final 10‑minute uncovered bake. The cheese melts into gooey pockets, adding richness and a delightful stretch.
Savory Sausage
Brown a half‑pound of Italian sausage, crumble it, and combine with the bread mixture. The sausage adds protein and a hearty flavor that turns the side into a main‑course contender.
Storing and Bringing It Back to Life
Fridge Storage
Place leftovers in an airtight container and refrigerate for up to three days. Reheat in a 350°F oven for 15 minutes, covered with foil to prevent drying out.
Freezer Friendly
Cool the stuffing completely, then transfer to a freezer‑safe bag or container. It freezes beautifully for up to two months. When ready, thaw overnight in the fridge, then bake at 350°F for 20‑25 minutes, adding a splash of broth or water before reheating to revive moisture.
Best Reheating Method
For ultimate crispiness, reheat on the stovetop in a skillet over medium heat, stirring occasionally. Add a tiny splash of water (about a tablespoon) before covering the pan for a minute; the steam will bring back that fluffy interior while the bottom crisps up again.